
close
Choose Your Site
Global
Social Media


Views: 0 Author: Site Editor Publish Time: 2026-05-06 Origin: Site


Restoring a classic car brings immense joy and unique challenges. Finding a replacement Car Sun Visor often frustrates even the most experienced builders. You want authentic parts. You certainly do not want a cheap modern afterthought ruining your cabin. Original visors rarely survive decades of use. Intense UV radiation destroys them over time. Internal cardboard cores warp from humidity. Vintage fabrics sag terribly. This degradation creates real problems for drivers.
Drooping visors compromise your safety on the road. They block your forward vision unexpectedly. They fail to stop dangerous low-angle sun glare. Furthermore, ragged visors ruin a show-quality interior finish. You need a better solution to protect both your vision and your investment. This guide offers a complete buyer's evaluation framework. We will help you navigate your many aftermarket options. You will explore strict OEM replicas, external vintage metal visors, and functional restomod upgrades. We show you exactly how to balance safety, style, and historical credibility.
Avoid "Universal Fit": Generic visors introduce aesthetic mismatches and poor fitment; custom-made or exact replica parts are mandatory for maintaining vehicle value.
Categorize by Restoration Goal: Decide between internal OEM-correct upholstery (e.g., Crater or Bison vinyl), external period-correct metal visors, or restomod upgrades (like tinted acrylic).
Prepare for Installation Realities: High-quality aftermarket options often require headliner manipulation, specific bracketing, or custom drilling (for unassembled kits).
Address Safety Blindspots: Upgrading to vintage external visors requires managing aerodynamic drag and potential visibility loss at traffic lights.
Every classic car builder faces a tough choice. Do you prioritize strict factory accuracy or daily driving comfort? Let us break down this common restoration dilemma.
Preservation builds demand absolute perfection. Matching exact factory textures is critical here. Judges at concours events deduct points for incorrect grain patterns. They look closely at your headliner accessories. They check for Perforated vinyl, Crater, or Bison vinyl finishes. Authentic textures elevate your car's monetary value. A slight material mismatch instantly reveals a subpar restoration job. You must source materials carefully to maintain that true showroom standard.
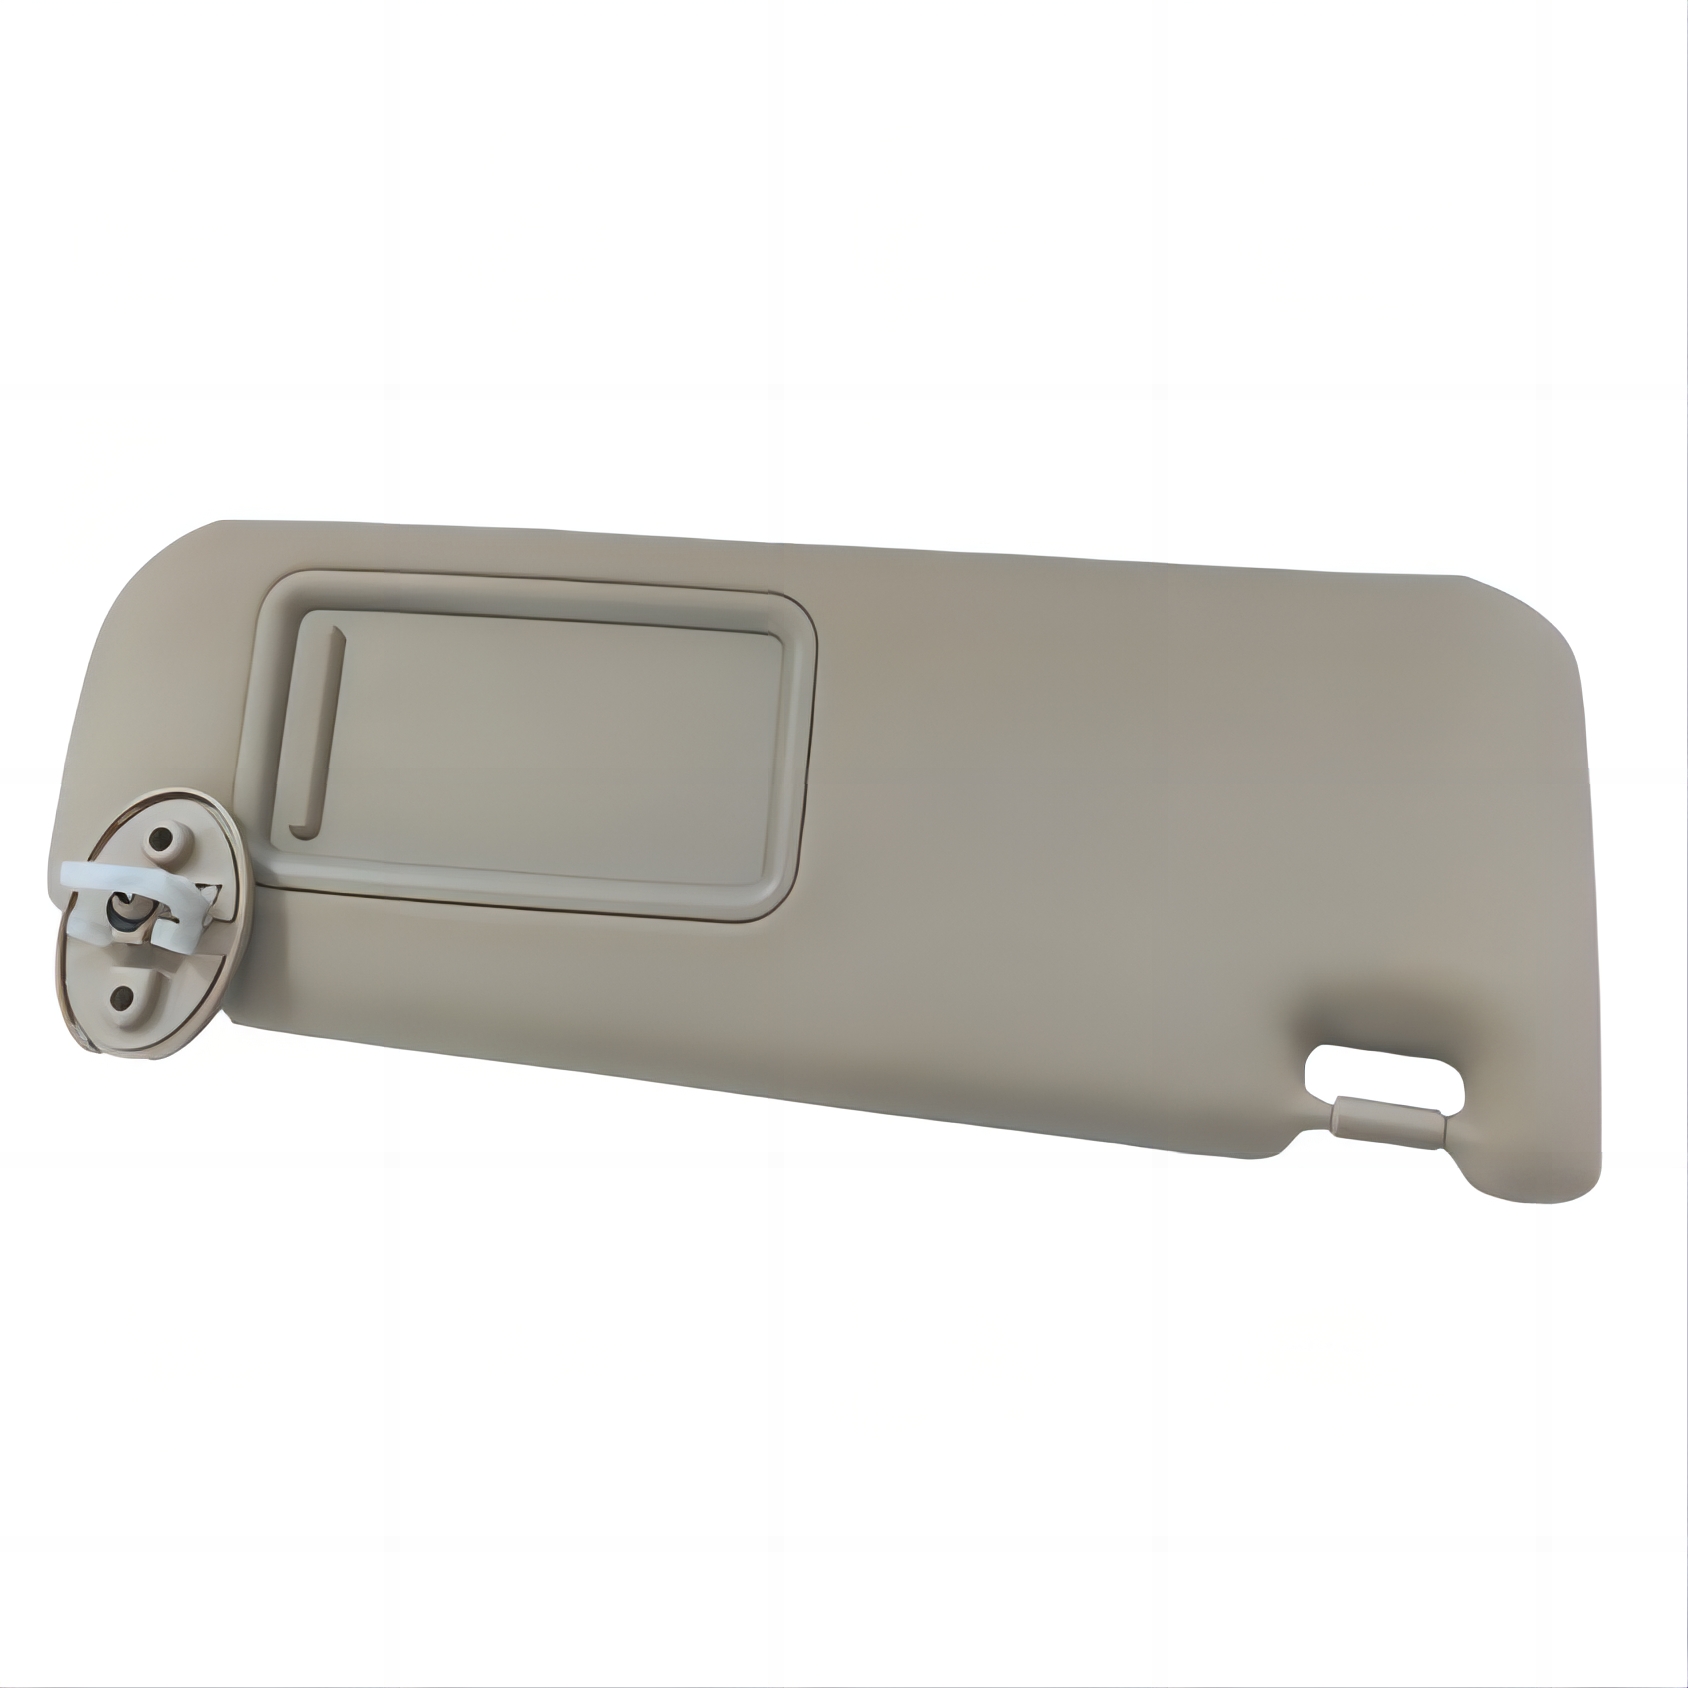
Driver-side parts naturally take the most abuse. You pull them down daily to block glare. This targeted usage accelerates hinge fatigue and fabric wear. You might search for a highly specific salvaged part. For example, hunting down a replacement car visor (gray) left assembly seems logical at first. However, salvaged 50-year-old parts usually hide internal structural degradation. The internal cardboard is likely brittle and ready to snap. Buying custom-manufactured aftermarket pairs is a much more reliable investment. They give you perfectly matching tones and fresh structural integrity.
Many builders now embrace the restomod philosophy. They integrate modern visibility features into classic vintage silhouettes. Today's aftermarket manufacturers use lightweight, anti-sagging polymer materials. These modern cores easily outperform original factory cardboard. They keep the authentic exterior look. Underneath, they provide stiff, reliable functionality for daily driving.
You essentially have three paths for visor restoration. Your choice depends entirely on your overall build style. Review these categories before buying parts.
Category 1: Internal Upholstered Replicas (OEM-Style)
These visors recreate the exact factory look of your specific vehicle.
Pros: They provide a flawless visual match. They maintain your original headliner integrity. They usually bolt directly into factory mounting locations.
Cons: Sourcing specific factory dyes proves difficult. Rare production years often have limited color-match options available.
Category 2: External Metal Visors (The Period-Correct Look)
These are iconic exterior accessories mounted directly above the windshield.
Concept: Think of the classic Fulton-style 3-piece visors. The lowrider and bomb car communities absolutely love these. They offer a bold, aggressive aesthetic.
Materials: Manufacturers use high-grade aluminum or chromed stainless steel. These heavy-duty materials easily withstand harsh weather conditions.
Category 3: Tinted Acrylic & Custom Hardware
This category blends hot-rod styling with modern glare reduction technology.
Concept: These transparent visors cut out blinding glare. They keep the cabin feeling airy and sleek.
Implementation: They often ship unassembled. Classic car roof curvatures vary wildly. DIY drilling ensures precise alignment for your specific vehicle.
We recommend following this prioritized checklist when selecting your category:
Assess your primary driving environment and weather conditions.
Consult your vehicle's original trim tag for interior color codes.
Determine your personal DIY comfort level regarding drilling and wiring.
Here is a quick summary table comparing the three core solutions:
Category | Best Suited For | Primary Material Base | Installation Difficulty |
|---|---|---|---|
OEM Replicas | Showroom Preservation | Textured Vinyl / Cloth | Low (Direct Swap) |
External Metal | Lowriders / Bomb Builds | Aluminum / Stainless Steel | High (Custom Brackets) |
Tinted Acrylic | Restomods / Hot Rods | Acrylic & Chrome | Medium (DIY Drilling) |
Upgrading your interior does not mean ruining its vintage charm. You can stealthily add modern reliability and comfort to your classic ride.
Factory springs lose tension over several decades. This inevitably causes the dreaded visor droop. Modern aftermarket kits feature stiffer, completely redesigned hinges. They hold the visor firmly against the headliner. They eliminate annoying rattling on bumpy back roads. This small hardware upgrade vastly improves your daily driving experience. You never have to push your visor back up constantly.
You might want to add modern creature comforts like a vanity mirror. Upgrading to a car sun visor with light adds incredible convenience for passengers. You can also install extendable anti-glare blockers. However, installation requires careful electrical planning. Wiring these into a classic 6-volt or vintage 12-volt system takes real work. You must route hidden wires carefully. They need to pass through the tight A-pillar safely. They must tuck neatly underneath delicate headliner fabric without pinching.
You must understand the distinct difference between active and passive thermal protection. Interior sun visors handle active driving glare. Windshield sunshades handle parked thermal protection. Use Mylar-backed, accordion-style sunshades when parked. Classic car cabins routinely hit 130°F+ during summer. This extreme heat actively destroys vintage leather. It cracks fragile original dashboards beyond repair. You need both active visors and passive sunshades for complete interior preservation.
External metal visors look fantastic on vintage cars. Yet, they introduce unique engineering challenges. You must understand these factors before attempting installation.
Restomods often feature modern, high-horsepower engines. High speeds fundamentally alter vehicle aerodynamics. An external visor acts like a massive air-catcher at 70 mph. It creates intense upward drag. This windage severely stresses the mounting brackets. It can even warp vintage rain gutters if improperly secured. The original Fulton visors were designed for 45 mph cruising. Pushing them to modern highway speeds changes the physics entirely. You must use specialized clamp-on brackets.
The classic car community is highly inventive. Builders actively mitigate this drag problem. They use a modification technique called "louvering." This involves cutting angled vents directly into the metal visor. Louvers effectively release trapped air pressure. They drastically reduce highway drag. Plus, they add a fantastic, aggressive hot-rod aesthetic to the car's exterior profile.
External visors unfortunately limit high-angle visibility. This is a very common driver complaint. You might struggle to see overhead traffic lights at intersections. Enthusiasts solve this problem creatively. They install vintage "traffic light finder" dashboard prisms. These small glass accessories mount neatly on the dash. They refract the overhead traffic light into your direct field of view. It perfectly bridges vintage styling with modern driving safety.
Are you ready to make a purchase? Use these strict criteria to evaluate your aftermarket options. Taking your time here saves money later.
Always prioritize modern engineering and material longevity. Seek vendors utilizing lightweight polymer cores. Demand highly UV-resistant dyes. Traditional untreated cardboard absorbs ambient moisture and warps quickly. Vintage cloth fades rapidly under the sun. Modern replacement materials actively prevent sagging and discoloration.
Never trust guesswork regarding fitment verification. Demand exact-match dimension sheets from your supplier. Explicitly reject any "universal fit" options. Generic parts always leave light-leaking gaps. They often compromise the delicate headliner edge during installation. Precision is paramount for a clean look. Follow these verification steps:
Measure your original mounting holes precisely center-to-center.
Request a physical fabric swatch from the supplier beforehand.
Verify the replacement bracket angle matches your specific roofline.
Below is a helpful comparison chart of Cost vs. Quality Thresholds. This chart helps you budget your interior restoration effectively.
Visor Category Type | Expected Price Range | What You Get for the Money |
|---|---|---|
Basic Internal Replicas | $50 – $100 | Standard vinyl and basic hardware. Good for budget daily drivers. |
Premium OEM Replicas | $100 – $200+ | Exact factory dyes (Crater/Bison) and sturdy anti-sag polymer cores. |
External Metal Kits | $300 – $500+ | Heavy-duty period-correct hardware, stainless steel or aluminum. |
Custom Acrylic/Restomod | $150 – $300 | Tinted acrylic, chromed brackets, and DIY adjustable fitment flexibility. |
Review this chart carefully before contacting a vendor. It sets realistic expectations for your overall restoration budget.
Selecting the perfect replacement visor truly elevates your classic car. Your best aftermarket choice depends entirely on your core build philosophy. OEM preservation requires meticulous attention to vinyl textures and original hardware. Restomod usability favors lightweight cores, custom acrylics, and modern stiffer hinges. Both paths are perfectly valid ways to enjoy your vehicle.
Take action before you order your new parts. Inspect your current headliner condition thoroughly. Check your existing mounting brackets for hidden rust or stripped threads. Degraded roof fabrics often complicate new visor installations. Address structural roof issues first. A solid foundation ensures your new aftermarket visors look flawless and function perfectly for decades.
A: Matching 50-year-old UV-faded fabrics is extremely difficult. Factory-fresh dyes will likely clash with your aged headliner. We highly recommend replacing both visors simultaneously for a unified look. Alternatively, source physical material samples from custom upholstery shops before ordering. This ensures the new tone complements your current interior patina.
A: It strictly depends on your mounting bracket style. Surface-mounted brackets allow for a direct, easy swap using standard screws. However, hidden-tension rods or concealed mounts may require partially detaching the headliner trim. Always check your specific vehicle's manual to avoid tearing delicate vintage roof fabric during removal.
A: They can, if improperly installed. Proper installation requires specialized clamp-on brackets designed to distribute weight evenly. We strongly warn against overtightening these clamps. Avoid cheap reproduction hardware at all costs. Flimsy mounts shift at highway speeds, which can permanently warp or crush your vintage rain gutters.


