

close
Choose Your Site
Global
Social Media


Views: 0 Author: Site Editor Publish Time: 2026-07-16 Origin: Site


Replacing an interior auto component often presents an unexpected aesthetic challenge. You might buy a replacement hoping for a seamless look. Instead, you discover a frustrating color mismatch upon installation. This happens frequently. UV fading, incorrect trim codes, and conflicting fabric textures all cause this issue. Choosing the wrong replacement immediately disrupts your cabin's continuity. It draws unwanted attention to the repair. Furthermore, mismatches can cause electrical compatibility issues if your new part features vanity lights. An exact match matters for both appearance and safety. This guide provides a reliable, verifiable framework for identifying your exact trim colors. We will help you evaluate aftermarket versus OEM replacements. You will also learn how to mitigate common installation risks effectively. By following these steps, you can upgrade your vehicle's interior confidently. Achieving a factory-fresh appearance requires careful planning and close attention to detail.
Trim Codes Dictate Color: Never rely on visual estimates; always verify the interior trim code via the vehicle’s VIN or door jamb sticker to ensure a precise color match.
Factor in UV Degradation: A brand-new visor will often appear slightly darker or richer than a 10-year-old factory headliner due to prolonged sun exposure.
Electrical Verification is Crucial: When upgrading to lighted models, ensure your vehicle has the existing wiring harness to support the transition.
Material Consistency Matters: Vinyl, cloth, and anti-glare engineering plastics reflect light differently; matching the core material is just as important as matching the hex color.
Achieving a perfect interior color match proves difficult for several reasons. Even when you order a factory-correct color, the new component often looks out of place. The primary culprit involves prolonged sun exposure. Vehicle interiors endure extreme heat and intense ultraviolet radiation daily. Over a decade, this continuous exposure degrades fabric dyes and alters plastic pigments. A ten-year-old factory headliner no longer retains its original color saturation. It becomes lighter, duller, or even slightly yellowed. When you install a brand-new component next to this aged material, the contrast becomes obvious. The new part looks overly rich or unusually dark. Expecting a flawless visual match in an older vehicle ignores the reality of UV degradation.
Material texture variances further complicate the matching process. Different materials handle light reflection in unique ways. Standard woven cloth absorbs ambient light, creating a softer, matte appearance. In contrast, custom vinyl or engineering-grade plastics reflect light aggressively. They produce a subtle sheen under direct sunlight. If you replace a cloth unit featuring a hard plastic alternative, the colors will look mismatched. The hex color code might be identical. However, the varying textures trick the human eye. Matching the core material matters just as much as matching the dye. Always verify the fabric type before purchasing any replacement.
Installing mismatched interior parts creates a jarring visual disconnect. A vehicle's cabin relies on unified design elements to feel cohesive. Contrasting a faded tan headliner alongside a generic "beige" car sun visor instantly cheapens the cabin's feel. Generic colors rarely align with specific manufacturer palettes. Ford's version of beige differs entirely from Toyota's version. This visual disconnect annoys drivers and distracts passengers. It also raises red flags for potential buyers if you ever decide to sell the vehicle. Buyers often perceive mismatched interior panels as evidence of hasty repairs or underlying damage. Prioritizing color accuracy preserves both aesthetics and resale value.
Guessing your interior color based on a photograph guarantees failure. Digital screens display colors differently, making visual estimates highly unreliable. You must bypass the guesswork entirely. Use your vehicle's exact interior trim code for every purchase. Automakers assign a unique alphanumeric code to every interior color scheme. Locating this code ensures you order the precise dye formulation intended for your cabin. Follow a systematic approach to find this crucial information.
Check the Door Jamb Sticker: Open the driver's side door. Look for the Service Parts Identification (SPID) label or the vehicle certification label. You will usually find it on the door pillar or the door edge. Scan the label for a section marked "TRIM" or "INT". The characters following this designation represent your interior color code.
Utilize a VIN Decoder: If the door sticker is missing or unreadable, write down your 17-character Vehicle Identification Number. You can find the VIN on the lower driver-side corner of the windshield. Enter this number into a reliable online VIN decoder. The results will list your exact factory specifications, including the interior trim code.
Consult Dealership Databases: When online decoders fail, call your local dealership's parts department. Give them your VIN. Dealership software can instantly pull up the original build sheet. The parts representative can give you the exact color name and its corresponding alphanumeric code.
Translating OEM codes into aftermarket options requires careful cross-referencing. Aftermarket manufacturers rarely use proprietary dealership codes. Instead, they assign broad names to their color palettes. You must determine which aftermarket shade corresponds to your factory code. For example, a manufacturer might offer "Light Gray," "Stone," and "Dark Charcoal." You need to know if your specific OEM code aligns better with the warm tones of "Stone" or the cool tones of "Light Gray." Request physical fabric swatches whenever possible. Comparing a swatch against your headliner under natural sunlight provides the most accurate translation.
Managing your aesthetic expectations remains essential during this process. You should anticipate a slight variance between the new part and the aging headliner. A 5% to 10% color difference is entirely normal when utilizing non-OEM custom upholstery or aftermarket covers. The new material simply lacks the years of UV exposure present in the rest of your cabin. Do not mistake this natural variance for an incorrect order. As long as you verified the trim code, the underlying color profile is correct. Over time, the new component will gradually fade and blend into the surrounding interior environment.
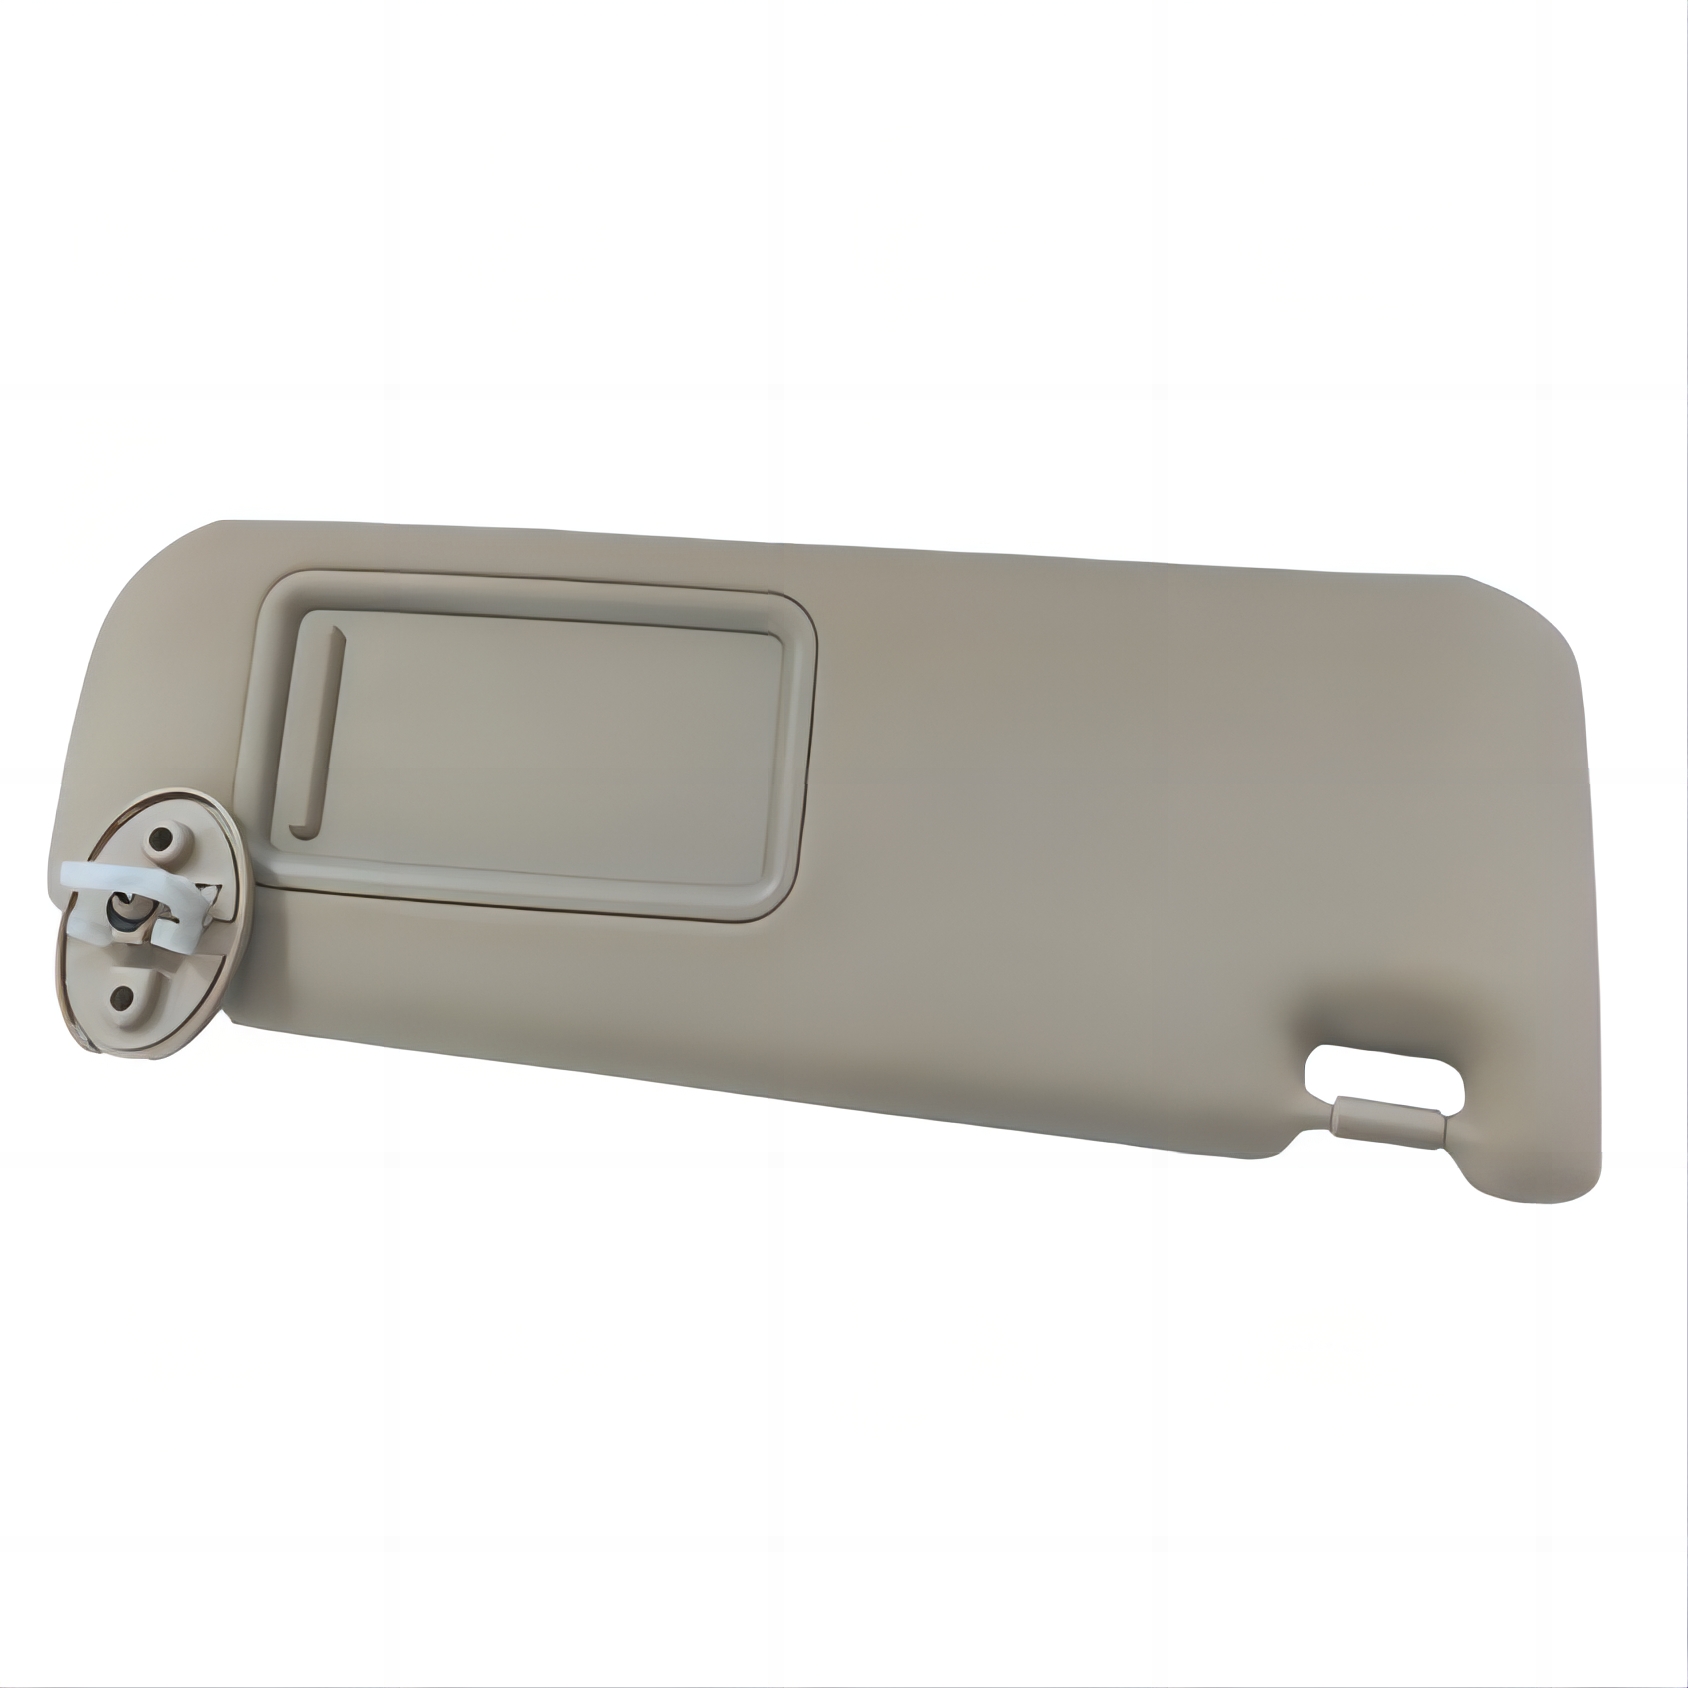
Upgrading your vehicle's interior features requires careful technical planning. Many drivers decide to switch from a standard, unlighted component to a premium lighted version. This upgrade enhances convenience but introduces new electrical challenges. You must assess wiring compatibility before making a purchase. An illuminated vanity mirror requires a dedicated 12-volt power source. If your vehicle originally came equipped with unlighted parts, the factory might not have installed the necessary wiring harness. You cannot simply bolt on a lighted unit and expect it to function. You will need to inspect the mounting hole in the headliner. Look for an unused two-pin or three-pin connector tucked above the roof lining.
Specific vehicle models demand unique considerations during the upgrade process. You must match generational design changes accurately. For instance, evaluating a Car Visor with Lights for Toyota Camry 12-17(Grey Left) requires precision. You must focus on matching the specific "Grey" trim code used exclusively for the 2012-2017 generation. Automakers frequently shift their color palettes between generations. A grey from 2011 will likely clash against a 2013 interior. Furthermore, you must verify the two-pin electrical connector matches the factory plug exactly. Using incorrect plugs forces you to splice wires, which increases the risk of electrical shorts.
Other models present different structural requirements. Consider the process of selecting a Car Visor Toyota Venza 2009-2016 with light. This specific component requires robust, OEM-style hinges. Weak aftermarket hinges fail quickly under the weight of the integrated mirror and light housing. The visor will droop while driving, obstructing your forward vision. You must also ensure the exact-fit wiring harnesses align properly. Poorly insulated wires hidden inside the roof structure create significant fire hazards. Upgrading to lighted units demands strict adherence to factory electrical standards.
Sometimes, functionality takes priority over aesthetic upgrades. Drivers of construction equipment or commercial fleet vehicles face intense sun exposure daily. In these high-glare environments, standard vanity mirrors offer no real value. Instead, these drivers should prioritize specialized anti-glare extensions. Engineering plastics featuring polarized or UV-blocking lenses reduce eye strain significantly. These functional lenses flip down to block blinding light without obstructing the driver's field of view. When selecting functional upgrades, durability and glare reduction matter more than exact fabric color matching.
Once you secure your interior trim code, you must decide where to source your replacement parts. Buyers generally choose between three distinct categories. Each category balances cost, color accuracy, and installation difficulty differently. Understanding these trade-offs helps you make an informed purchasing decision tailored to your specific vehicle.
Direct-Fit Original Equipment Manufacturer (OEM) replacements represent the highest tier. Dealerships or authorized distributors supply these exact factory parts. They offer the highest probability of a flawless color match. The material textures align perfectly. The mounting hardware snaps into place effortlessly. However, OEM parts carry the highest price tags. Additionally, inventory availability poses a major challenge for older vehicles. Finding brand-new OEM components for 2009-2017 vehicle generations proves increasingly difficult as manufacturers discontinue legacy parts.
High-Tier Aftermarket units provide a highly functional, cost-effective alternative. Reputable aftermarket brands utilize advanced color-matching technology to replicate factory trims closely. While they cost significantly less than OEM parts, you must evaluate their build quality carefully. Do not buy the cheapest option available. Examine the hinge tension durability. Cheap hinges fail rapidly, leading to the dreaded "droop." Also, check the fabric glue temperature ratings. Vehicle interiors easily exceed 140 degrees Fahrenheit during summer months. Inferior adhesives melt under extreme heat, causing the outer fabric to peel away from the inner core.
Custom slide-on covers serve as a budget-friendly alternative for purely cosmetic upgrades. If your original unit functions perfectly but looks permanently stained, a fabric cover hides the damage. You simply stretch the tailored fabric over the existing structure. This approach eliminates all electrical risks and hardware fatigue issues. However, covers introduce significant risk factors. They often suffer from bulky, loose fitment. A poorly tailored cover looks sloppy and unprofessional. Furthermore, sliding a thick cover over the unit usually obstructs the vanity mirrors and blocks integrated lighting.
Comparing Sourcing Options
Sourcing Category | Color Accuracy | Cost Level | Primary Drawback |
|---|---|---|---|
OEM Replacements | Highest (Exact match) | Premium / Expensive | Limited inventory for older car models |
High-Tier Aftermarket | High (90-95% match) | Moderate / Value | Requires vetting glue and hinge quality |
Custom Slide-On Covers | Variable | Lowest / Budget | Bulky fitment, obstructs vanity mirrors |
Successfully procuring the correct part represents only half the battle. The installation process introduces several risks you must navigate carefully. Many DIY mechanics damage their interiors due to a lack of preparation. Understanding implementation realities prevents minor projects from escalating into expensive dealership repairs.
Hardware fatigue ranks among the most common installation failures. The original mounting clips hold the component securely to the metal roof structure. After years of enduring extreme cabin temperatures, these plastic clips become highly brittle. They lose their flexibility and shatter easily. Warn anyone attempting this repair against reusing old mounting hardware. Forcing a brittle clip back into place usually results in broken retaining tabs. Always recommend purchasing a complete replacement kit. Ensure your new package includes fresh, pliable mounting clips and corresponding screws.
Handling interior wiring harnesses requires strict safety protocols. Upgrading or replacing lighted units involves live electrical circuits. If you accidentally touch a positive wire against the metal roof frame, you will cause a short circuit. This usually blows an interior fuse, disabling your dome lights and radio.
Disconnect the Battery: Always disconnect the negative battery terminal before beginning any interior electrical work.
Inspect the Harness: Check the existing wires for frayed insulation or exposed copper before plugging in the new unit.
Secure the Plugs: Push the electrical connectors together until you hear a distinct click, ensuring a solid connection.
Route Wires Carefully: Tuck the wires away from the mounting screws to prevent accidentally piercing the harness during installation.
Post-installation assessment finalizes the upgrade process. Once you secure the new part, you will likely notice the color variance we discussed earlier. The brand-new fabric looks pristine next to your older roof lining. You can minimize this visual contrast effectively. Deep clean the surrounding headliner material. Years of airborne dust, smoke, and natural oils embed themselves into the factory fabric, darkening its appearance. Use an interior detailing brush and a foaming upholstery cleaner. Gently agitate the surrounding area and wipe it away with a microfiber towel. Removing this embedded grime brightens the older material significantly. A clean headliner blends much better with a brand-new replacement part, softening the visual transition.
Upgrading custom interior components demands careful attention to detail and precise part selection. You must follow a strict shortlisting logic to achieve professional results. First, verify your exact trim code using your VIN or door jamb sticker. Second, assess your specific wiring needs, deciding between lighted or unlighted features. Finally, choose between OEM parts or high-grade aftermarket units based on your budget and vehicle age. Rushing this process guarantees frustrating aesthetic clashes.
Remember to set realistic expectations regarding color matching. Slight color discrepancies are completely normal due to years of UV degradation and material aging. The older your vehicle gets, the harder it becomes to achieve an absolute flawless match. However, identifying and utilizing the underlying factory trim code prevents glaring clashes. It keeps the interior looking unified and well-maintained.
Do not let a mismatched cabin ruin your driving experience. Take action today by locating your vehicle's SPID label or running your VIN through a decoder. Once you secure your exact interior code, explore the specific replacement categories tailored to your model. Investing a few extra minutes in research ensures your interior restoration looks seamless and functions perfectly.
A: Direct your attention to the driver's side door jamb. Look for the Service Parts Identification (SPID) label or certification sticker. Find the section marked "TRIM" or "INT" to locate your factory code. Alternatively, you can use a reliable online VIN decoder or call a local dealership parts department.
A: While technically possible, it presents electrical challenges. You must verify if the factory wiring harness exists above the headliner. If it does not, you will need to tap into the dome light or another roof power source. This process carries significant electrical modification risks and requires careful routing.
A: This difference results from UV degradation and natural fabric aging. Your brand-new part retains its exact factory dye saturation. Meanwhile, the surrounding 5-to-10-year-old headliner fabric has faded due to prolonged sun and heat exposure. A 5% to 10% visual variance is entirely normal.
A: High-quality aftermarket options offer equivalent functionality and approximately 95% color accuracy at a much lower price point. They serve as excellent, cost-effective replacements. However, strictly OEM parts guarantee exact factory hinge tension, flawless clip fitment, and a 100% accurate original dye match.


